
Making a catio

Does your cat seem to want to go outside, but you don’t want them to be free roaming? A catio is a great compromise!
Jake is FASCINATED by the birds, so I decided to make him a catio. I have some raccoon neighbours I had to take into consideration, so this is going to be a little more involved than a catio in a non-raccoon area, but here’s the general method I used if you want to make your own feline friend a safe outdoor space.
Look how happy these two are! They are able to enjoy the smells and birds, but they can’t jump off my third floor deck or get into trouble. Plus, it’s much more fun for me to be out on my deck if the cats can come with me.
What you need to make a catio
Materials
an open wooden shelving unit
hardware cloth (usually in the garden section of a hardware store)
steel strapping (found in the plumbing section of a hardware store)
metal corner supports
hinges
latch
screws
waterproof wood sealant
Shelf brackets
decorations (fake grass, scratchers, etc)
Tools
saw
paint brush
drill
wire cutters
level
Step 1: Get some open wooden shelving
I went to Ikea and grabbed some Ivar shelves (https://www.ikea.com/ca/en/search/?q=ivar). I got three side pieces and the narrower shelves so that I could make staggered shelving on the inside to allow Jake and Trixie to jump around. Other options include Henje (https://www.ikea.com/ca/en/search/?q=hejne), which is a bit cheaper. I opted for Ivar as the shelves are solid rather than slats with small gaps in them. Jake is the kind of cat who would absolutely get a paw stuck in gaps. I love him, but he’s a doofus.

Step 2: Waterproof it
(if you’re in a climate that needs it)
We live in Canada, so it is going to rain and snow. It’s a simple process: just get the waterproofing liquid, a tray to pour it in and a brush. Apply as per directions (mine was to put on one coat and let dry for 24 hours) and voila, waterproof catio.

Here’s the waterproofing in progress.
Once you’re done, assemble the shelves as per the manufacturer.
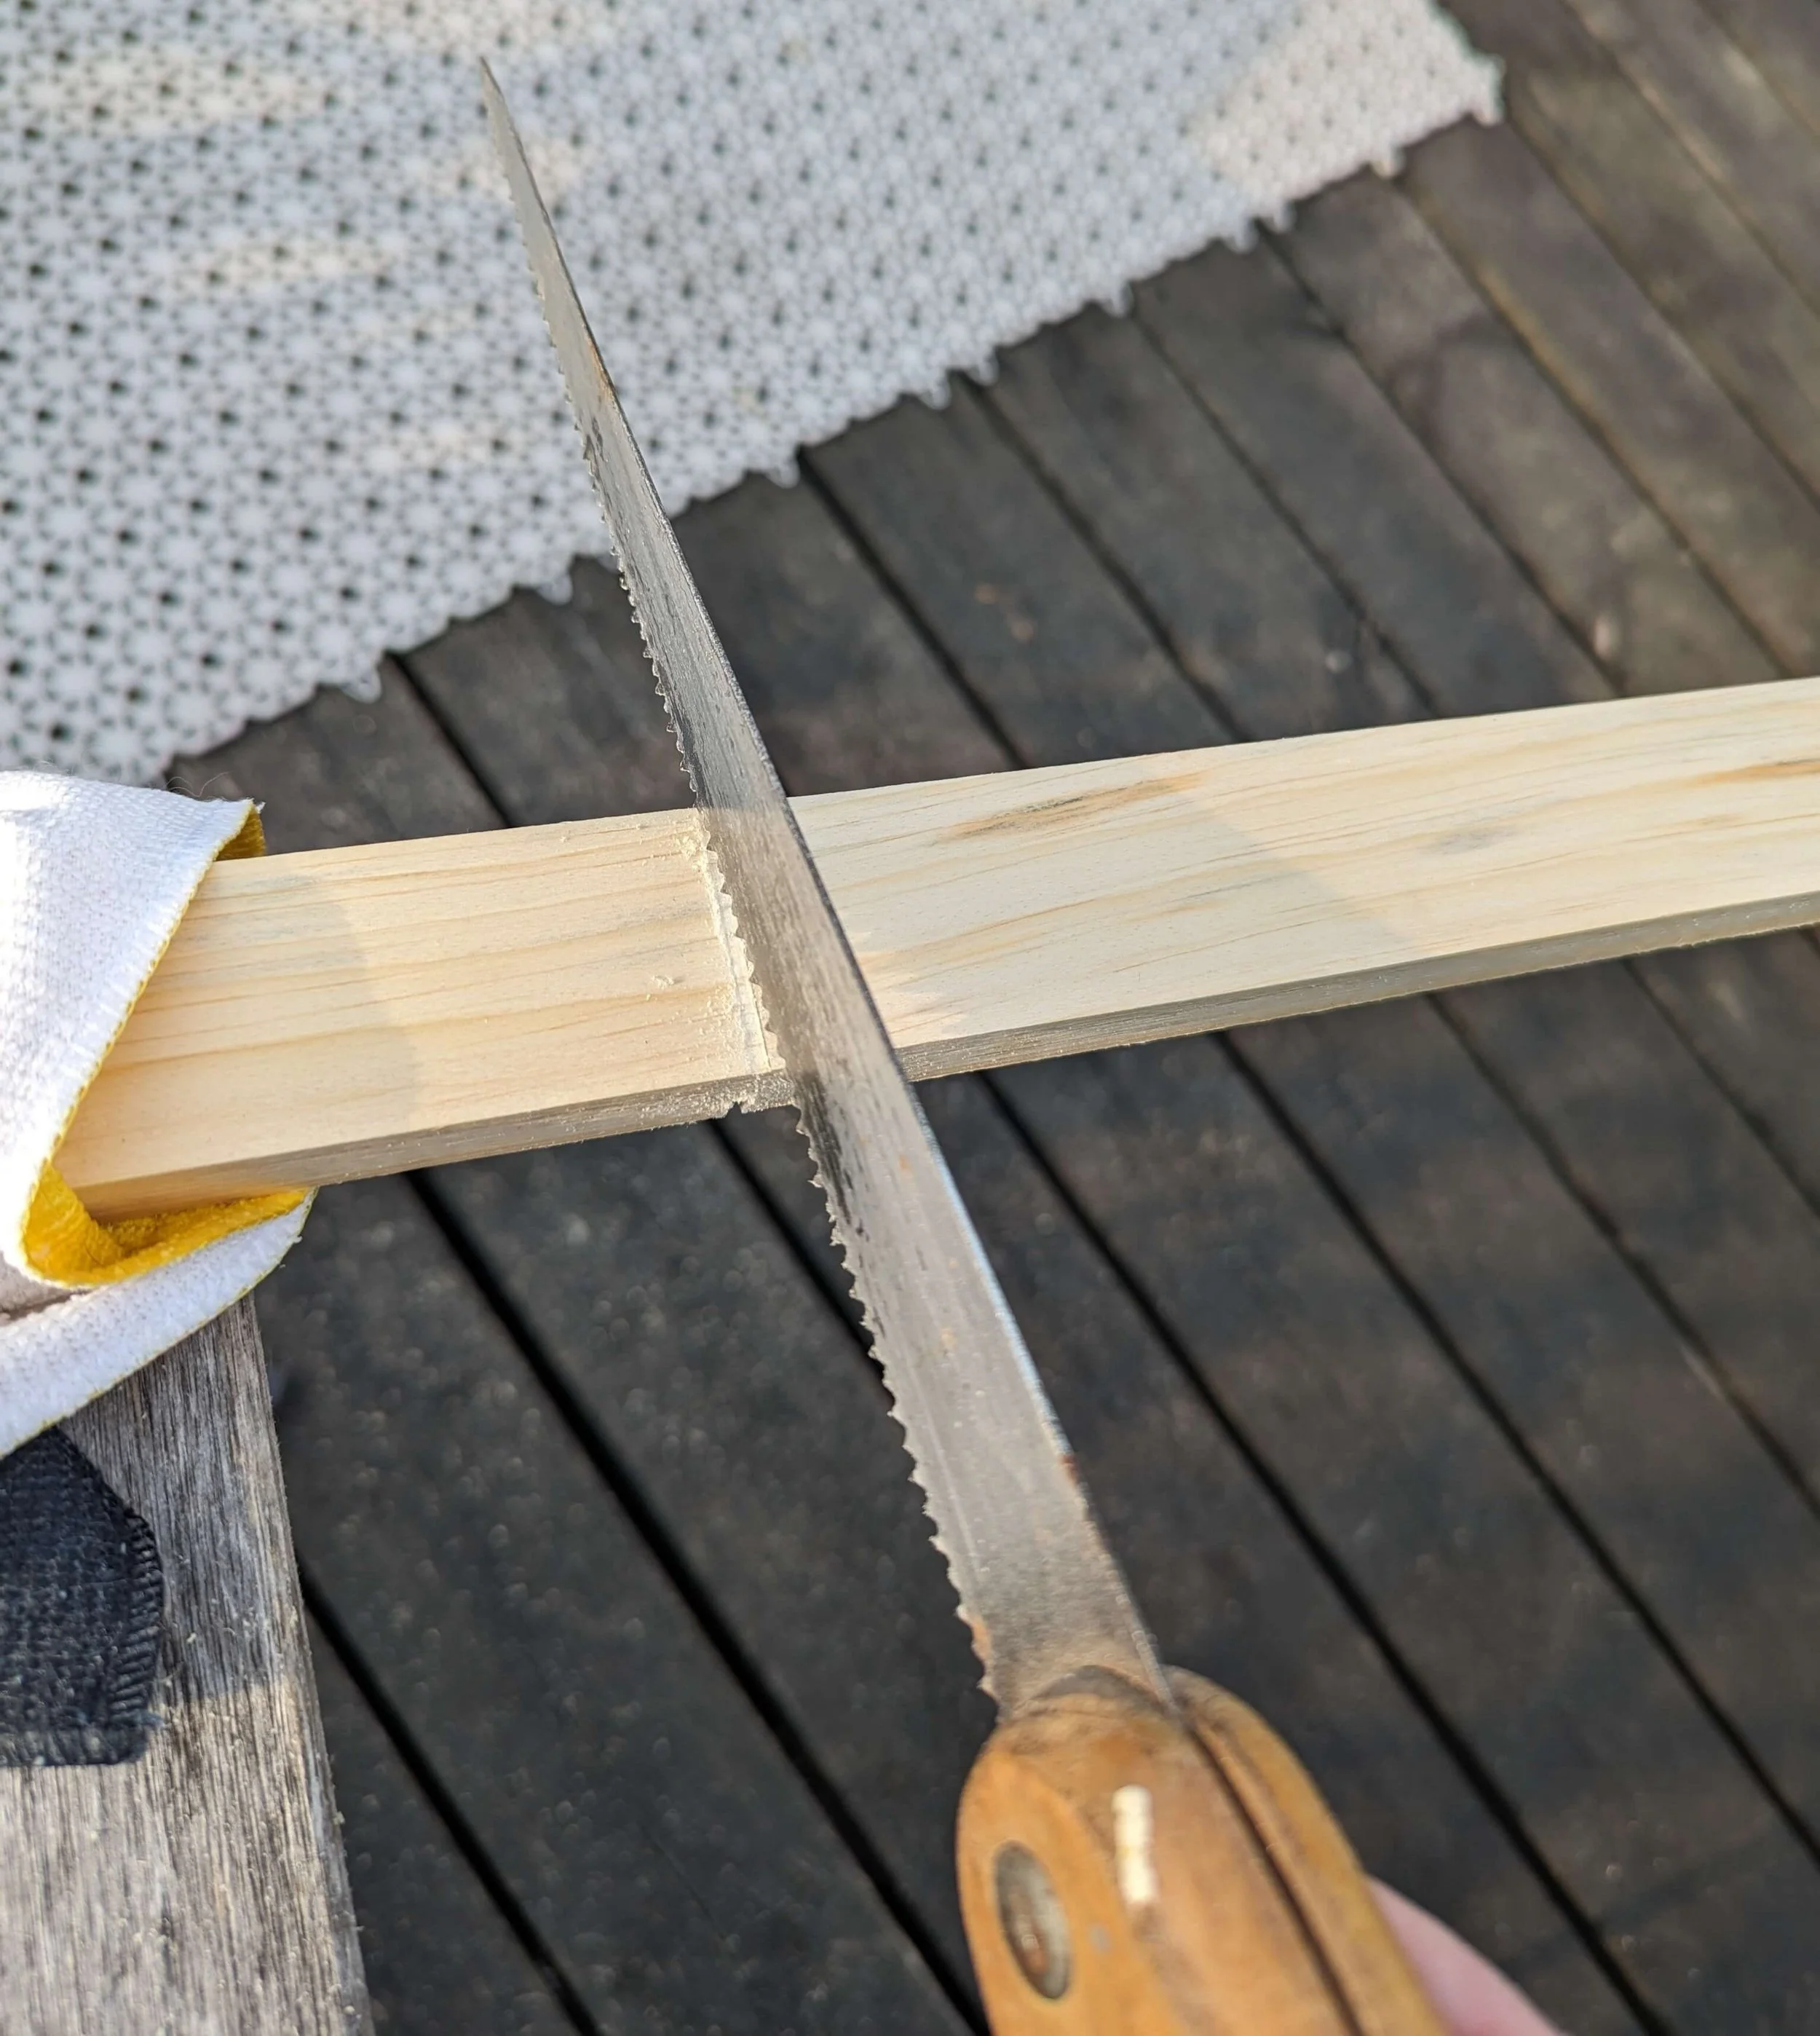
Step 3: make the door pieces
I used 3/4” x 1.5” pieces of lumber since that’s what I could find. Then, I measured how high and wide I’d want the door and cut pieces to match.
You don’t necessarily need a door, you could just cover the whole catio in the hardware cloth. However, for safety, cleaning, and quick access, I would add a door.

Then, sand the ends.
I’m not a carpenter and was using a hand saw, so I didn’t do any kind of fancy joints for the corners.
I also made two extra pieces to put around the back entrance from my window. That’s the main way the cats will come in and out and I didn’t want them getting caught on raw edges of hardware cloth. (pic at bottom of post)

Step 4: Attach the barrier
I used steel hardware cloth since I was worried the local raccoons would bust through chicken wire.


Attach it securely!
Due to the raccoons, who can absolutely pull out staples, I chose to attach the hardware cloth with steel strapping and screws. If you don’t have tiny bandits in your area, staples work fine.

Step 5: Assemble the door
I screwed the side pieces to the top and bottom with long screws, then added inner and outer corner reinforcement with metal corner plates. Then, I attached the hardware cloth the same way I did to the rest of the catio.
Finally, I put it onto the catio with hinges and add a latch to keep it closed.

Step 6: Attach it to the wall or deck
Since I have vinyl siding, I couldn’t use the supplied hardware to anchor the catio to the wall. So, I put brackets around the base instead. You do want to make sure it’s attached somehow so it doesn’t tip over (especially with a cat in it!)
step 7: release the cats!
The finished project! Jake came out immediately, but Trixie took a little longer. As you can see, they both have lots of interest in the smells and sounds out here. We still have a bit of decorating to do and Jake has requested more shelves to jump on, but it’s usable by cats and they love it!
Hope you enjoy making a catio of your own!


